What's The Best Garage Floor Coating To Use?
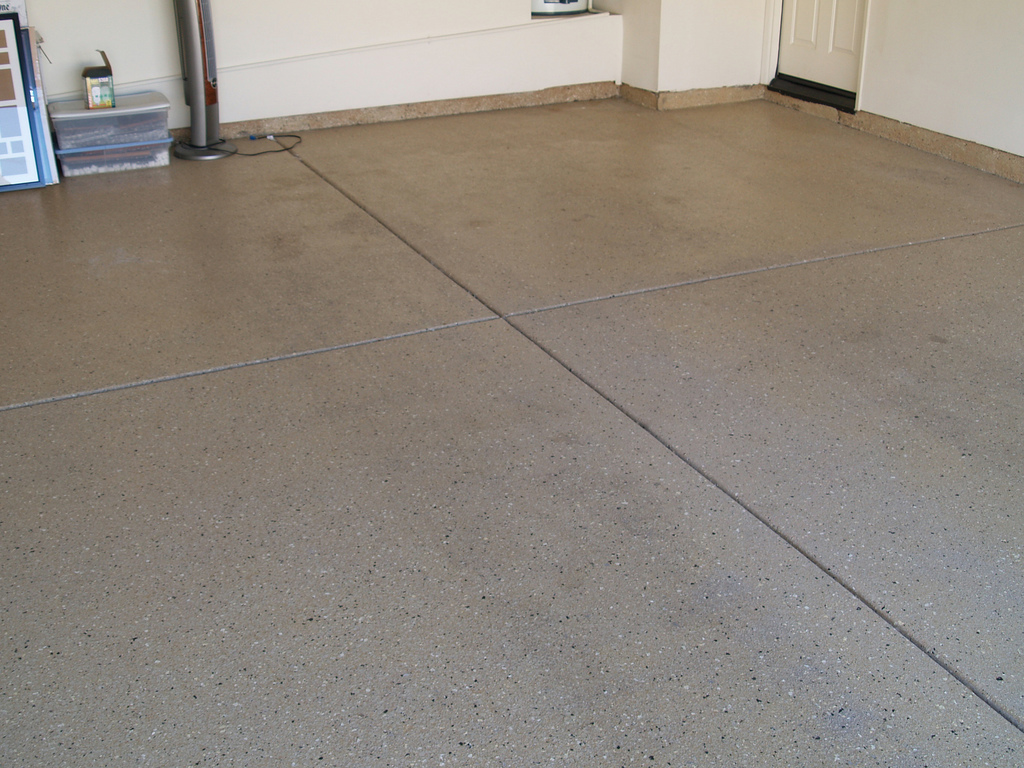
Jeremy HoldernessGarage floors a re ugly. They get stained with dirt and motor oil, and marred-up by your car's hot tires. It's no wonder that the big box stores like Home Depot and Lowe's are capitalizing on one of the latest trends in home improvement by selling DIY epoxy garage floor coating kits.
The problem is that the products they sell -- while DIY friendly -- are most certainly not the best products to use on garage floors. At least not if you want your job to last.
So, what is the best product to use? In this article we're going to discuss why these DIY kits don't last, what types of products the pro's use, and what products are best suited for homeowners who want to get the most for their money.
DIY Grade Epoxy vs. Pro Grade Epoxy
Film Thickness
Epoxy floor coatings are designed to be a sacrificial barrier between the concrete substrate and the elements in your garage that are harmful to it (i.e. tire traffic, road salt, gasoline and oil leaks, etc.). So, generally speaking, the thicker the epoxy coating is the longer your sacrificial protection barrier will last. A typical epoxy kit sold at your local hardware store will provide a dry paint film thickness of about 1.5 mils per coat versus the thickness of a professional grade product which would be anywhere from 3.0 - 30.0 mils per coat, or at least double the film thickness.
The reason why pro grade epoxy products go on so much heavier than DIY grade products has to do with the amount of volume solids in the can. Every type of coating is made up of two basic components: solvent and solids. The solvent is the liquid base -- commonly referred to as a water-based or a solvent-based coating -- that is used as the vehicle to transport the solids onto the surface that you're painting. The solids are what is left on the surface after the solvent has evaporated -- referred to as the dry paint film.
The higher the percentage of solids by volume that your coating contains, the thicker the paint film will be when it dries. Your average DIY epoxy kit will contain as much as 50% volume solids, where as your professional grade products will contain anywhere from 65%-100% solids by volume -- allowing it to build a much heavier wet film which leaves a much thicker dry film for your sacrificial barrier.
Level Of Surface Preparation
It's common knowledge that the longevity of any painting project is predicated on how well you prepare the surface. This is true in the case of garage floors even more so than in most situations because of the amount of abuse the surface takes.
The only way to properly prepare a concrete floor for an epoxy coating is to scarify, or rough-up, the surface enough that the coating will have something to bite on to. An ideally prepared concrete floor should feel like 60-80 grit sandpaper when you run your hand across it. The problem is that there's only one way to create that heavy of a profile on the surface and that's with professional equipment such as a track blaster or a diamond grinder. But the price of having a professional floor company do this kind of work for you will be cost-prohibitive for many homeowners. Now you might be able to find a tool rental shop where you can acquire this type of equipment but that kind of specialty work is definitely best left to the pro's.
The companies that make these DIY kits know that the likelihood of a homeowner being able to go to those lengths to prepare the surface in this manner is slim to none. So instead they recommend preparing the concrete by acid etching. Acid etching is an effective technique for creating a profile on the concrete by introducing acid to the surface, which creates a chemical reaction lowering the pH level of the top layer of the concrete and causing it to disintegrate. While this will create a light texture on the surface it is not sufficient enough to allow a high solids epoxy to properly adhere. In order to get an epoxy to stick to concrete with this level of surface prep the epoxy coating has to contain less solids and have a thinner consistency to allow it to grip well enough so it won't peel off.
As you can see, this is a double-edged sword because while these lower solids epoxies may be better for sticking to inadequately prepared surfaces, the fact that they leave a thinner dry film thickness makes them have less durability and longevity than their high solids counterparts.
Epoxy May Not Be Your Best Choice
Permeability
One other thing to consider in addition to the extensive surface prep required for using a quality epoxy floor coating is the issue of permeability. Preferably, when any indoor concrete floor is first poured the construction crew will lay down a heavy plastic vapor barrier between the ground and the poured concrete. This keeps moisture from the ground from migrating up through the concrete to the surface. Unfortunately there's no guarantee that this is always done.
Epoxy coatings are known for not being permeable, which means they won't often allow water vapor to pass through them easily. If your floor does indeed lack a vapor barrier this can cause problems as the ground moisture makes its way up through the concrete and is stopped by the epoxy coating. As is usually the case, natures eventually wins the battle and you may be left with a peeling floor.
(One way to test for moisture migration coming through your concrete is to tape a 12” x 12” piece of aluminum foil or 3 mil plastic sheeting down tightly to the floor on all four sides with duct tape. Remove after several days. If there is condensation on the underside of the foil/plastic or the floor is wet or discolored, you have a moisture issue. It's best to perform this test shortly after there has been a steady soaking rainfall when the ground is saturated.)
Alternatives
If you're uncertain that your floor contains a vapor barrier or you don't want to go to great lengths to prepare the surface then epoxy may not be your best choice. Another tried and true method for protecting and beautifying your floor is a solvent-based concrete stain/sealer system.
This type of system is different from an epoxy in that it penetrates into the surface and bonds with the concrete, creating a thin, durable film build that won't peel, flake, or fade. They are very good at resisting oil, gasoline, water, and hot-tire pickup (where your car's hot tires pull the coating off of the surface). Another advantage to a stain/sealer over an epoxy is that they are excellent at resisting ultraviolet light -- as epoxies are notorious for chalking and fading with prolonged exposure to sunlight.
As with any specialty coating system such as this, there are specific steps you'll need to take to prepare the surface so make certain you read and follow the product data sheet before applying.
*Note* Regardless of whether you decide to use a DIY epoxy kit or a stain/sealer system, if you intend to use acid etching to prepare your floor you'll first need to remove any 'cure & seal' products before beginning. Cure & seal is a clear liquid that is often spray applied to new concrete during the initial curing process. It will need to be removed with a cure & seal remover, and the floor thoroughly cleaned and de-greased in order for the acid etching to be effective.
This article is intended for informational purposes only, as ImageWorks Painting applies specialty floor coatings in Commercial or Industrial applications only.
If you're in the Greater Pittsburgh or Western Pennsylvania areas and have a Commercial/Industrial specialty floor coating project that you need assistance with, please contact us for a free consultation and quote.


